Friday, 17 April 2015

Sugaring off Season

Proulx Maple Farm

Full Day Kindergarten has been full of new beginnings for the little ones, and for educators. We planned our first field trip this spring, and braved the prospect of ushering 4 year olds into "porta-potties". Never, in a million years, could I imagine embarking on this journey without the help from volunteers. I am truly grateful! Thank you!

Around the time we first started planning the trip, I was in my local hardware store and spotted the supplies needed to tap your own trees. If we had mature maple trees on our yard, I would have attempted to try our hand at it. Nonetheless, I picked up those supplies and brought them to class to pique their curiosity. Mission accomplished.

Demonstrating how they think the
bucket hangs from the tree
Exploring the spile
We read a few books on the topic of sugaring off, and were surprised to learn that it takes 40 buckets of sap to produce 1 bucket of yummy, golden syrup. 

40!

That's a big number! We took time during Focus Groups to explore that number.
Counting out 4 rows of 10 

Counting to ensure there are really 40
Using tens frames and bottle caps to count to 40.
Using blocks & tens frames to represent 40
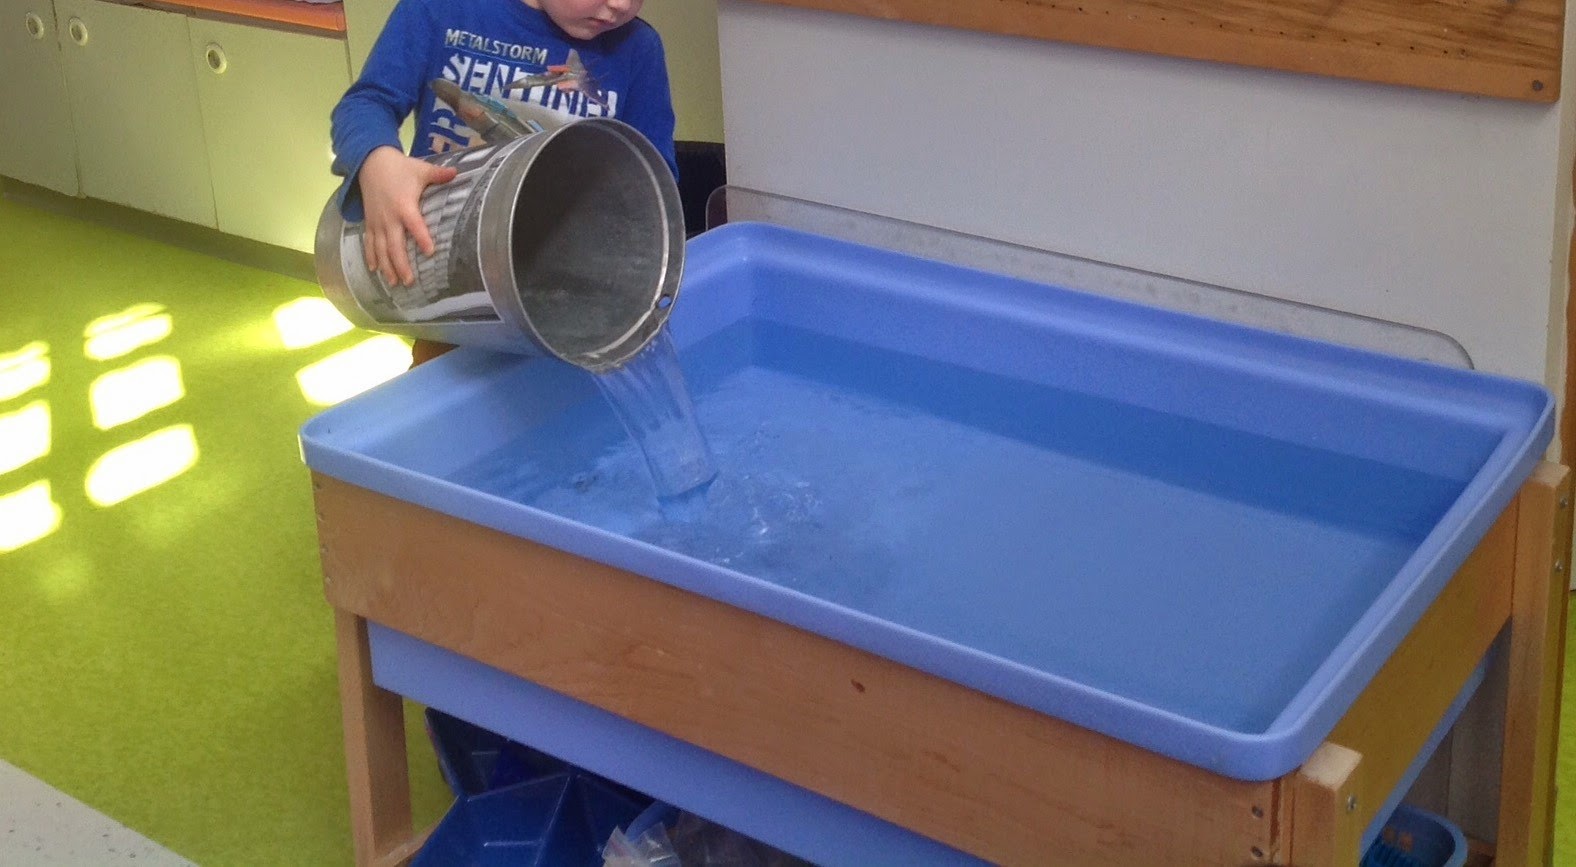
Our learning carried over to the water table, where it magically turned 
into an "evaporator".  We wondered if the "evaporator" had the 
capacity to hold 40 buckets worth of sap. 
Estimates were recorded, then we explored!
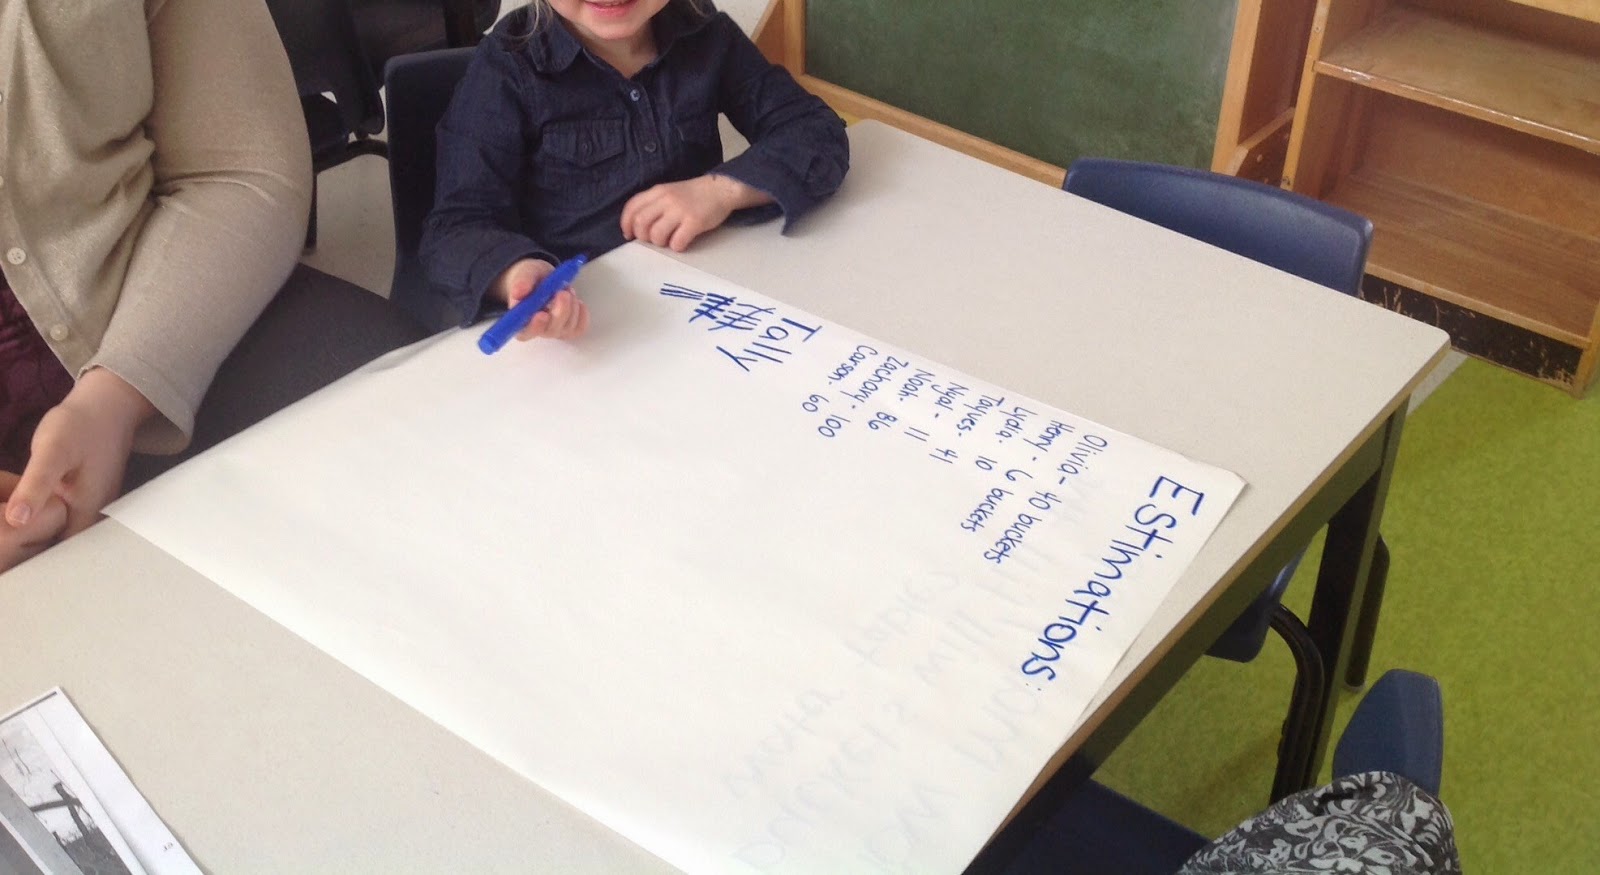
Literacy & Numeracy at play
That's a lot of "sap"!
How do we get sap flowing through the spile?
Taking a tally during centre time
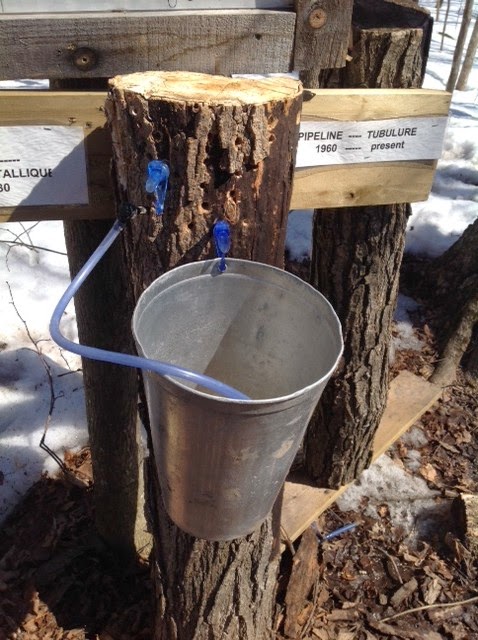
By the time our field trip rolled around, the children were so excited. Proulx Farm had a lot to offer! A presentation outside identified the way sap has been collected throughout history.


Left (large wooden spile and bucket out of a log)

Right (small wooden spile and bucket out of wood)


Left (metal spile and bucket)

Right (plastic spile and aluminum bucket, OR tubing running from tree to tree)
 A tour inside of the sugar shack demonstrated how the sap is boiled at a high temperature in an evaporator, and syrup is produced. The smell was heavenly! We could smell the wood smoke as we approached, and from within, there was a sweet aroma!

Rustic "Sugar Shack" 

Evaporator at work
Steam rising up, beyond the rafters
A connection was made to the water cycle (evaporation) as we watched the steam rise up and out of the building. 

It was a full day! We enjoyed our pancakes and smothered them in delicious maple syrup - what a treat! Then we took a wagon ride back to the play structures and animal barn. A few of our little friends fell asleep on the bus ride home. What a terrific first field trip, and sugaring off season!

Thank you for visiting our atelier.

Thursday, 16 April 2015

Building Bridges

  As the thaw sets in, spirits soar on the school yard. The landscape changes and promises new opportunities for discovery and routines. After several days of slushing about, the small puddles on the yard expanded and engulfed the sand pit. While I usually am one to endorse messy play and exploration, there are some drawbacks, such as not being able to dry off properly at school. Complaints (about getting back into soggy clothing and getting splashed) evolved into class meetings, and new rules of play took shape.

One little friend; in an attempt to provide a solution to the mud puddle dilema, declared, "We need a bridge!"  There was much agreement, and from here, the dayplan was abandoned and we went in an entirely different direction. The inquiry was born.

How can we make a bridge? The children named their choice materials: wood and rope.


We mused outloud, "How about a pallet?" When it was suggested that we could inquire with Mr. Jeff, excitement rose. As luck would have it, Mrs. Jeff had just taken a sturdy one out to the dumpster and he was more than happy to retrieve it for us. Even before we could get our boots on, a pallet was delivered!


In the meantime, we shared the story of "3 Billy Goats Gruff", and our focus group explored bridge building. The children were encouraged to look around the room and devise a plan to create their own structure to bridge their construction paper "mud puddle". The results, we share below. 

Rulers and Kapla blocks


Big blocks


Unifix cubes

Assorted foam and red wooden blocks

The next series of photos were taken in absolute silence, as this child explored simple physics and created a "see-saw", or lever, for a bridge. I love how the pictures capture her learning as she discovers how the load effects the lever. The beam (ruler) pivots when she removes dinosaurs (weight/effort) at the opposite end.

The beam is set, with a dinosaur as the fulcrum.

The dinosaurs are loaded on, one by one.

Dinosaurs keep marching on, trying to cross the puddle.

The load at the other end is gradually removed.
The beam finally pivots and allows the dinosaurs
to pass over the mud puddle.

The children continue to develop and apply their knowledge and understanding of bridges. While travelling by bus on our recent field trip, some children excitedly pointed out an overpass. On a excursion around our yard, we encountered a bridge near a runoff culvert and crossed it. The opportunities to explore bridges has not passed - we continue to build on our knowledge and expand our understanding and appreciation. We are "building" our schema.

Wooden poles used to create a bridge 
over corn field run off in the junior yard.

Thank you for visiting the atelier.


Tuesday, 24 March 2015

Sprouting Seeds

A few years back, I started to get into sprouting. There are lots of health benefits to consuming sprouted greens - not that my own children were too keen on that aspect!  However, the thrill of watching little seeds evolve each day was very exciting. I was inspired to bring the seeds in, and try sprouting with the JKs in the atelier. 

Recording scientific observations in the atelier!

At first glance, the handful of clover seeds weren't terribly interesting. We noticed that they were small, and they were yellow and brown. We soaked them in water to wake them up! The inquiry had begun. We wondered what would happen? Would they grow bigger? Would they turn into something else? Did they need light?

Clover seeds getting a soak!

We drained the seeds and let them sit in the sprouting jar overnight. There wasn't much change by the next day. We wondered: Maybe they needed more light? More dark? We gave the seeds a shower, but drained them well so they weren't soaking.


We covered the jar with a towel. Soon, the seeds were sprouting little white tails. We recorded our observations in our science journal page, and made predictions about what would happen next. 
Some little scientists predicted that the seeds would turn into :

beans
monkeys
gorillas
apples
oranges
flowers
grass
volcanoes
feathers
the sun
water bugs

Observations: I see...

Before we knew it, the seeds had developed a sprout and had tiny green parts at the end.


In fact, we could observe little green leaves emerging.

In our sun dappled atelier, observations are recorded.

The children were a little surprised to learn that the sprouts could be put into a salad, or in a sandwich or a soup garnish. We didn't actually taste test them, because there were days that the sprouts missed their "showers", and there was likely bacterial growth. But, if you're vigilant about rinsing your sprouts twice daily, they can make for a fascinating science experiment and a tasty treat!

Documentation panel

Thank you for visiting our atelier.

Friday, 6 March 2015

Setting the Stage

We were very lucky to be an audience for "Blues in the School" this week. Each morning we attended a performance by celebrated musical artists - some nominated for Juno Awards! Each presentation was quite different, and the children were exposed to some fantastic live music!

This experience transferred back to the classroom, as the children created their own centre to celebrate their learning and music appreciation. We brainstormed what resources we would need to create a centre. It was determined that we needed a stage and microphones. They were off to the races!


"GOOS" paper (Good On One Side), paint brushes, primary pencils, 
and laundry detergent lids were used to create microphones.


The stage was constructed using the big wooden blocks.


However, there was some disappointment that hammers and nails could not be used to make the stage more stable. The children presented me with the problem, and had a solution to suggest. Tape.

 Tape proved to be somewhat successful!

Abandoned microphone on stage


Once the stage was constructed, the children were eager to prepare more for their performances. Chairs were assembled and the audience fell into place! Some members of the audience provided percussion for the performances. In some cases, catering was provided by our class "kitchen".

A friend clapping and providing percussion

Performing at the "Blues" centre

The song "Strong Mama" draws an audience

The children continue to grab microphones and perform a variety of tunes, including:

Let It Go
Rock n' Roll Snowman
There Was a Moose
Twinkle Twinkle
Old MacDonald

 ... and our feature "Blues" song of the week: Strong Mama .


Creativity! A bin of child created microphones.

Grab a microphone from the bin, and click on the link above to 
hear Eric Litwin's song Strong Mama. Enjoy!

Thanks for dropping by the atelier.

Thursday, 26 February 2015

Marvellous Mittens

With sub-zero temperatures gripping us, (and more indoor recess than we all wish to count!) who could pass up an opportunity to introduce the old folk tale, The Mitten.


While we enjoyed the story, the children thought that it was great fun bringing their own mittens inside the class, and exploring. In our "focus groups", various math manipulatives were set up and the children set to "work".

Length is measured using wooden cubes.
 
Non-standard units of measurement were used to calculate length, height, and perimetre.


Counting and spelling - the big reveal!


Height is measured using pattern blocks.


Perimetre is measured with alphabet beads. 
 
We also presented the children with construction paper mittens with curious little dots around the perimetre.


Mittens were decorated.

Yarn strands were placed on the carpet,
enticing the children to try their hands at sewing.
 

The stitches in one version of "The Mitten"
may have come loose, but not these ones!

Fine motor coordination fun
 
While the interest in mittens was still strong, we moved along to the "Three Little Kittens". We sang the nursery rhyme as a song, and we turned it into a drama. Cut-out mittens became another math inquiry as we created number sentences in circle.

 
Perspectives were explored when the number sentence looked different to a student on the opposite side of the carpet. The first number sentence is depicted above. With brilliant insight, a child proclaimed that the sentence could be read another way. They changed the location of the equal sign and the sum (4), as seen in the picture below.


Emphasis was placed on "equal", and that the same number be represented in some form, on either side of the equal sign.


This is a little advanced for Junior Kindergarten. However, when the interest is keen, we can't ignore it!


We continued to work on number sentences in our "focus groups". While the concept is advanced for some, other children in the group were counting and mastering their understanding of number. Everyone is learning at the perfect pace for them!


When number tiles and number sentence strips were placed out with other materials, we discovered that some of the children gravitated towards them, and made it part of their play.


We feel privilaged to work with a class full of children who honour themselves by pursuing their interests and inquiry.

Thank you for visiting the atelier.